Understanding Video Codecs
I have previously written about Why You Shouldn't Convert Old Home Movies To DVD (or Blu-Ray), and more recently How I Digitally Capture Videotapes. This third installment in my video conversion series focuses on video codecs, why they matter, and which ones I prefer.
Before diving in, here's the typical video processing pipeline that I use for video archival and restoration. A single tape passes through three different kinds of codecs on its way from my VCR to a viewable file:

Prerequisite Info
Before we go any further, let's make sure we're on the same page about a few concepts:
Codecs
A codec is a compression algorithm. The term is a portmanteau of coder/decoder. There are many kinds of codecs, but for today's post we are focusing on those specialized for video.
Uncompressed video is huge. An hour of uncompressed 4K video requires over 3TB of storage. Even the standard-definition video stored on the video tapes I'm capturing piles up faster than you'd expect. Codecs use advanced mathematics to eliminate data redundancies both spatially (patterns within a single frame) and temporally (pixels which don't change from one frame to the next). Capture and intermediate codecs generally use spatial compression only, and preserve each frame individually. Delivery codecs tend to utilize both spatial and temporal compression.
These techniques, combined with others designed to exploit the constraints of human perception, allow for a massive reduction in data rates (and therefore file sizes). If done well, this can also be accomplished without sacrificing visual quality. The end result, depending on the codec chosen and the user's needs, is an incredible reduction in size.
Container Formats
A container format is a file format which allows a file to contain one or more different media tracks.
Many people assume that the file extension (such as .mp4) indicates the codec of the video stored inside, but this is not true. An .mp4 file, because it is a container format, can contain videos of many different codecs.
It helps to picture the container file as a box that holds several separate tracks, with the video track and its codec being just one of several items tucked inside:

For example, a single container file might hold a video track, one or more audio tracks (for different languages), subtitle files, chapter information, and additional metadata.
Some common container formats you're likely to run into are:
- Matroska (MKV) — An open, flexible format that can hold just about anything you throw at it.
- MP4 — The most widely supported container out there, and a safe bet for playback almost anywhere.
- QuickTime (MOV) — Apple's format, and a common sight in video editing workflows.
- AVI — An older Microsoft format, and what VirtualDub writes out when I capture.
So, given a container file, how can one determine what is actually inside it? There are several tools for this; probably the most standard is ffprobe, which is part of the ffmpeg toolset. It's command line, but it gets the job done nicely. If you're looking for something more visual and user-friendly, MediaInfo is quite popular. VLC media player can also display some codec information about videos while playing them. There are other tools with this capability as well, but these are what I typically use.
With these base topics covered, let's talk about the different types of video codecs.
Capture Codecs
When capturing video, there is a flood of uncompressed data coming from a primary source — in my case, a VCR. If the hardware performing the capture can't keep up with the amount of data coming in, the result may be dropped frames or an otherwise unusable video. The role of the capture codec is to translate all this data into a digital file small enough to be written to a hard disk in real time without overloading the computer performing this task.
Computers and storage have of course gotten much faster over the years — writing to an SSD is much faster than writing to a magnetic hard disk. But in my case, I use a pretty old computer to do my capturing. I built my capture machine in 2007, and it captures to old hard drives. It still works perfectly fine for this task, thanks to the capture codec I use.
Another important aspect of capture codecs is that they are usually lossless. "Lossless" comes in two different flavors:
- Mathematically lossless codecs compress the video in a manner which can reproduce a bit-by-bit identical copy of the original. Since the result is identical to the original, these codecs are ideal for archiving.
- Visually lossless codecs do not produce an identical copy, but opt for one that is close enough that the human eye cannot tell the difference. These typically create smaller file sizes than their mathematically lossless counterparts, at the sacrifice of some quality, whether it can be perceived or not.
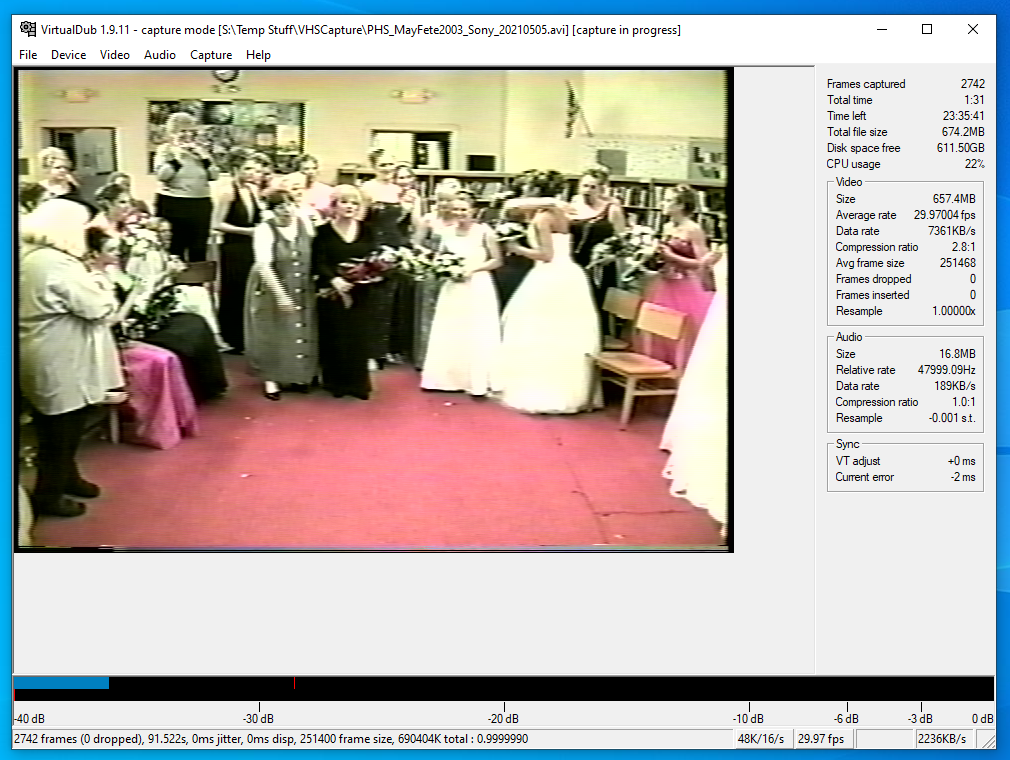
I (and seemingly most archivists) prefer mathematically lossless codecs so that every pixel is captured perfectly. If you are doing digital archiving like I am, a lossless copy becomes the new master copy. My goal when capturing is to get whatever I can off the videotape as perfectly as possible, so I never need that tape again. The tape will continue to degrade over time, as will my VCRs. My digital master, captured losslessly, never will.
As I mentioned in my previous post, I use VirtualDub to capture, and write out a file using Huffyuv as my codec. Huffyuv is an older codec, considered "legacy" by today's standards, but it's also open source, so it won't be going away anytime soon. Huffyuv uses Huffman coding, a rather simple method to provide decent compression with minimal CPU usage. This means it performs flawlessly even on my extremely old hardware. I have no reason to use anything newer or better.
Besides Huffyuv, other mathematically lossless capture codecs to consider are:
- UT Video — This was developed as an alternative to Huffyuv, with better compression.
- FFV1 — This codec is widely supported by video editors, and offers higher compression than Huffyuv. If I had a more powerful capture computer, I'd probably be using it myself right now.
- Lagarith — This is another codec based on a fork of Huffyuv and offering better compression, but reduced speed on single-processor systems.
My rule of thumb is that if you're capturing video for archival purposes, you can't go wrong with a lossless copy.
Intermediate Codecs
If a capture codec is used for a master copy, an intermediate codec is the working copy. The idea here is that you feed your master copy (or an intermediate - more on that in a second) into a video editor, make your desired changes, and then have the editor output a file using an intermediate codec.
Intermediate codecs are generally visually lossless, not mathematically lossless. "But Bob," you might say, "you just told us that mathematically lossless codecs are better!" And yes, you're right. Mathematically lossless codecs are great for archiving, and I archive a copy of each tape in a lossless way. However now that I'm editing and making changes, I can output those changes in a visually lossless intermediate codec, for further work or delivery encoding later.
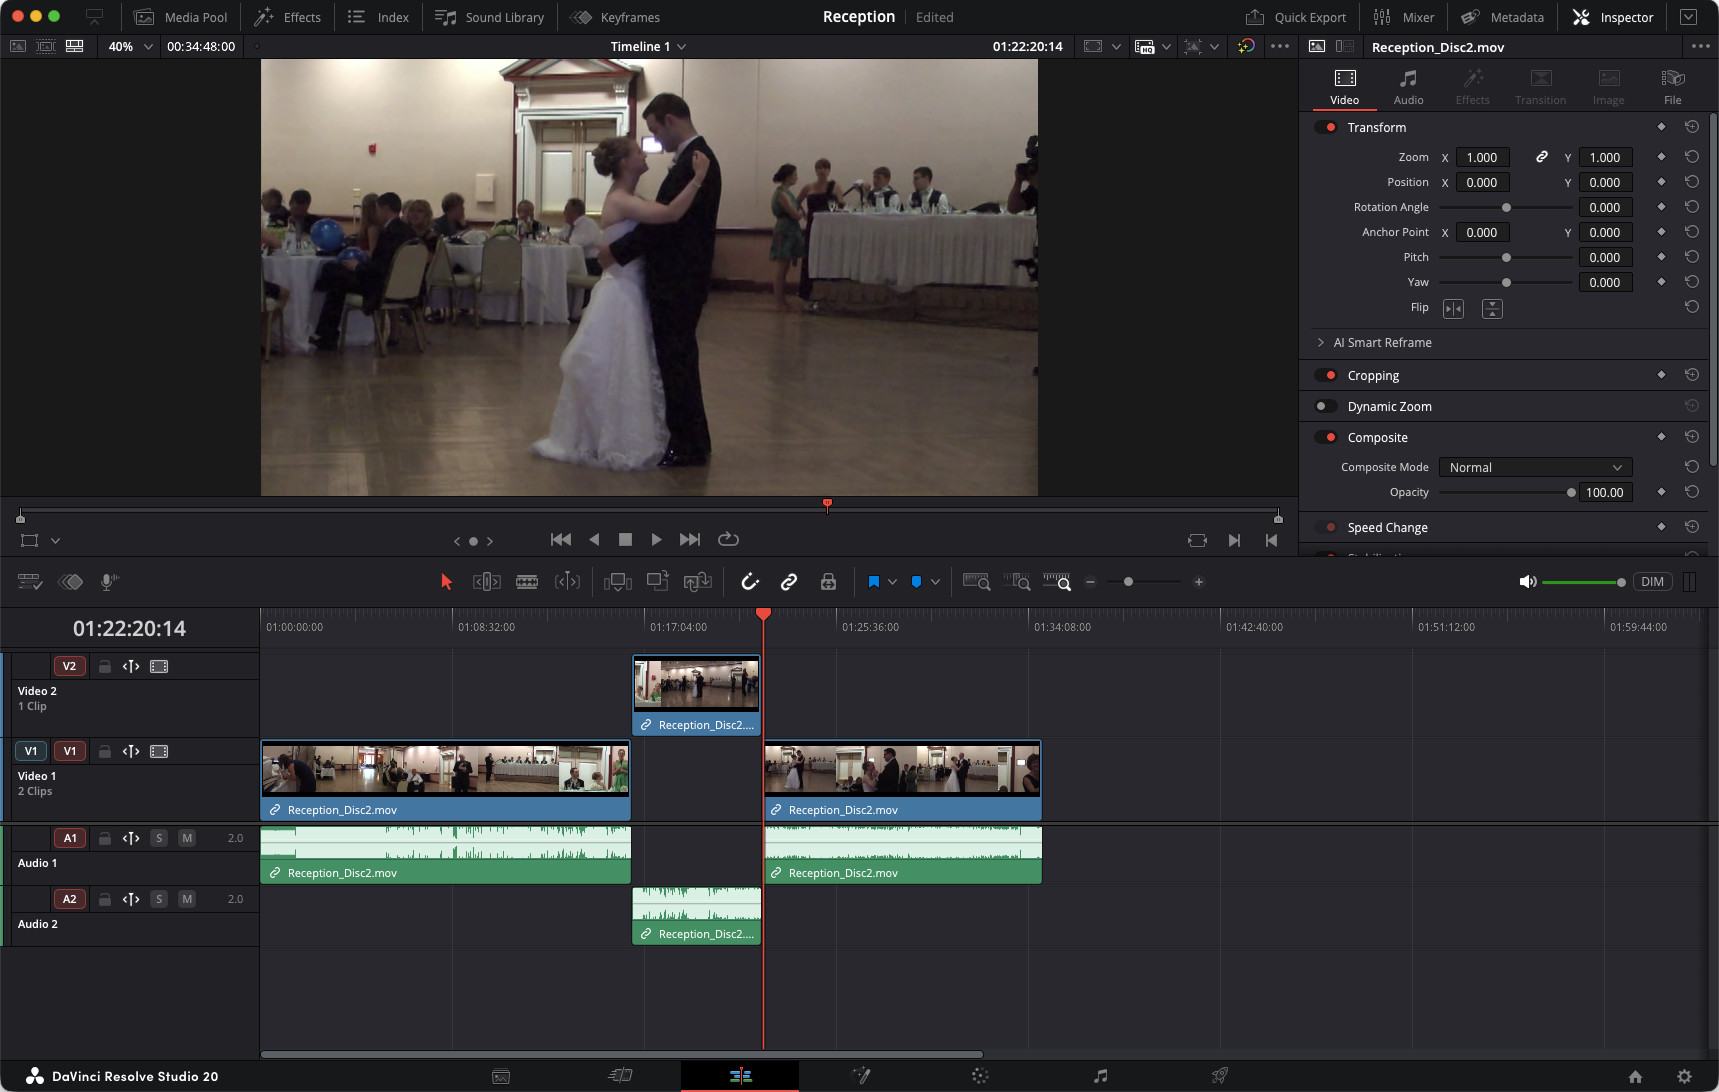
So why bother with an intermediate codec at all? Why not just edit the master copy directly? The answer comes down to performance. Mathematically lossless files are enormous, and not every video editor plays nicely with the older capture codecs I mentioned above. Intermediate codecs are designed to be easy for an editor to work with - they decode quickly, they scrub smoothly on the timeline, and they don't bog down your machine while you're making cuts and color corrections. Think of an intermediate codec as a compromise between quality and convenience: you give up a tiny amount of visual fidelity that you'll never notice in exchange for a file that's far more pleasant to edit.
The other big advantage is that intermediate codecs are designed to survive multiple generations of editing. Every time you re-encode a file with a lossy codec, you lose a little more quality - the same way a photocopy of a photocopy gets worse each time. Intermediate codecs are built to minimize this generational loss, so you can open, edit, and re-export a file several times without having it turn into a grainy and pixelated mess.
Some intermediate codecs worth knowing about are:
- Apple ProRes — Probably the best known intermediate codec, and the de facto standard in a lot of professional workflows. It comes in several flavors offering different balances of quality and file size.
- Avid DNxHD / DNxHR — Avid's answer to ProRes, and a common choice on Windows where ProRes support has historically been less convenient.
- GoPro CineForm — A cross-platform intermediate codec that's freely available and works well on both Windows and macOS.
Which one you choose largely comes down to what your editor supports and what platform you're on. In all cases, the goal is the same: a working copy that's good enough to edit comfortably while preserving as much of your master's quality as possible.
For the curious, my video editor of choice is DaVinci Resolve, which is free and incredibly powerful. It also has a paid version, which I do pay for because I use it so much. It supports a ton of codecs, and there is extensive documentation about its capabilities with each.
Delivery Codecs
If the capture codec is the master copy and the intermediate codec is the working copy, then the delivery codec is the paperback copy - the version you actually hand out to people to watch.
Delivery codecs are almost always lossy; they're tuned to produce the smallest file possible while still looking good to the average viewer. This is the exact opposite of a capture codec. When archiving, I want every pixel preserved at any cost. When delivering, I want a file small enough to stream over the internet or fit comfortably on a device, and I'm willing to throw away data I'll never miss to get there. Nobody wants to download a 3TB file to watch an hour of home video.
By far the most common delivery codec today is H.264, also known as AVC (Advanced Video Coding). H.264 has been around since 2003 and is supported basically everywhere - every phone, every browser, every smart TV, every streaming service has spoken H.264 for years. Its compression is excellent, its hardware support is universal, and it's the codec I reach for when I want something that will simply play, no questions asked, on whatever device someone happens to be using. If you want a file that works everywhere with zero fuss, H.264 is the safest choice. Whenever I do video work that will be viewed by someone else: family, friends, or other people I'm helping out - I always give them an .mp4 file with H.264 encoded video. It just works.
H.264's successor is H.265, also known as HEVC (High Efficiency Video Coding). H.265 offers roughly the same visual quality as H.264 at about half the file size, which is a huge win, especially for 4K and HDR content where file sizes balloon quickly. That efficiency comes with two catches, though. First, H.265 is more demanding to encode and decode, so older or weaker hardware may struggle with it. Second, its licensing situation is famously messy, which has slowed its adoption on the web - not every browser will play an H.265 file the way they all will with H.264.
There are TONS of other delivery codecs as well. AV1 and VP9 continue to grow in popularity. I tend to stick with H.264, and use H.265 for anything I'm working on for myself.
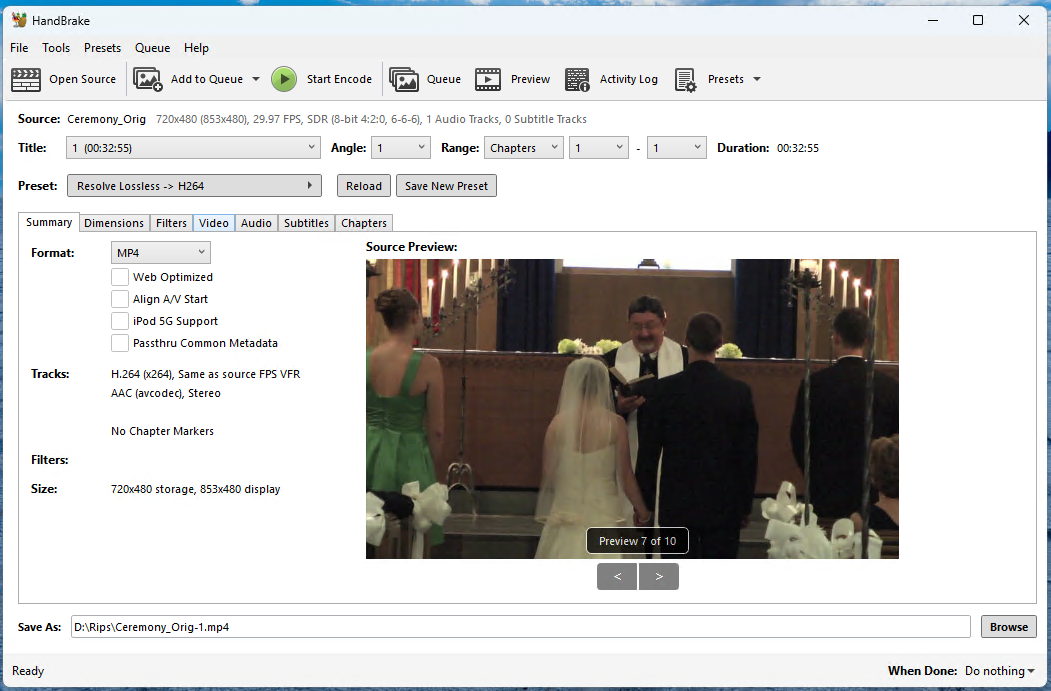
To produce delivery files I use Handbrake, which is a free and open source video transcoder. It's been around for a long time, has a nice graphical interface, and also has a ton of features like customizable presets, a processing queue, and a command line interface.
So that's my take on video codecs and how I use them in my workflow. If you have any questions, please reach out!