How I Digitally Capture Videotapes
For the past few years I have had an ongoing project to preserve all my family's old home movies. This has meant a deep dive into videotapes, VCRs, and video capture technology, which is a rabbit hole I never expected to go down. But I feel it's necessary to get the highest-quality copies I can before these tapes and their contents degrade any further. Every once in a while someone asks me how I do this and what tools I use, and this time I decided I'm going to blog about it. So thank you, Kendal, for asking!
What do you use to convert VHS to digital? I’ve got some old tapes I really need to convert over.
— Kendal Van Dyke (@SQLDBA) May 4, 2021
Let me start by saying that there are many ways to capture video and get it onto a computer for editing or other purposes. Some of the tools I see for sale look incredibly cheap, and I'm not really sure of the quality of their output. (Anything that involves a USB dongle just seems sketchy to me.) Based on my research, the method I use is a good way to ensure quality captures and a better final product. It's definitely not the simplest or cheapest process out there, but I think it works quite well. If you're curious why I go to all this trouble, consider checking out my related post on Why You Shouldn’t Convert Old Home Movies To DVD (or Blu-Ray).
The Big Picture
My video capture setup as it currently exists:
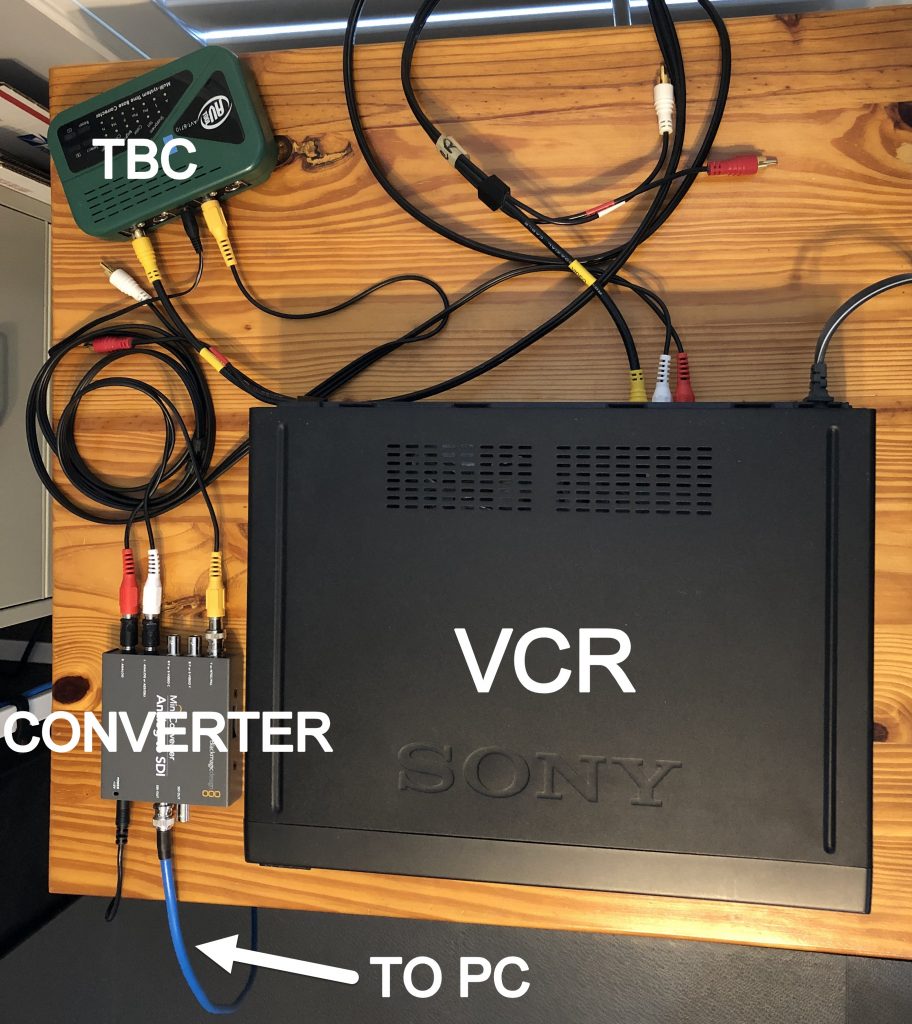
The VCR will get swapped out as described below, but the other parts of my pipeline haven't changed in a long time.
VCR
The main component of any capture setup, and the one that determines the overall quality of everything, is your VCR (or camcorder, or whatever else you happen to be capturing from). If the output of your VCR doesn't look good, you're all but guaranteed that nothing further down your processing pipeline will look good either.
VCRs are precision mechanical devices, and unfortunately there's a lot that can go wrong with them. Tiny differences between units can also mean that a tape which plays well in one VCR may not play as well in another, even one of the exact same model. For this reason, I keep several VCRs on hand, including multiples of the same format. Something that doesn't look good in one VCR may very well look better in another, so having several models lets me get additional opinions on each tape. Later VCRs, from the early 2000s, tend to have more features for correcting video output, and those can make a huge difference as well. Here are the main VCRs I use:
- JVC HR-S9800U – This S-VHS VCR is my main unit for capture. It has several features for improving output quality, including a built-in TBC (more on that in a moment). It also has a dynamic drum, which allows the video heads to pivot for more accurate tracking. Later JVC models (HR-S9600 and higher) are generally sought-after by video archivists.
- Sony SLV-679HF – This VCR, while not S-VHS, produces some excellent output. I use this in cases where I encounter tapes that won't play well on my JVC.
- Sony SLV-R300 – Another solid VCR that some tapes will look better on than others.
- Sony SLV-778HF – This is a VCR that has been modified to bypass most of its electronics and instead feed raw data from the play heads into vhs-decode, software that emulates all the signal processing circuitry found in a VCR. It allows for all kinds of signal correction that just isn't possible otherwise.
- Panasonic PV-V4022-A – There is absolutely nothing special about this VCR other than it works. This is my "sacrificial lamb" VHS player. When I encounter tapes of questionable quality, that I need to capture but don't want to risk ruining one of the far better VCRs above, I play them in this one.
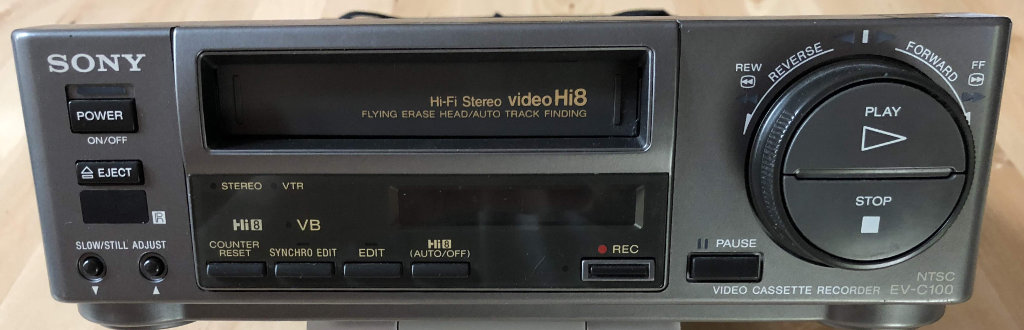
- Sony EV-C100 – 8mm Hi8 VCR for camcorder tapes.
- Sony GV-D200 – 8mm Digital8 VCR for tapes from later camcorders.
- Sony GV-D1000 – VCR for MiniDV tapes so I can support the short time these camcorders existed.
- Sony SL-HF300 – A Betamax VCR, for any Betamax needs should they arise.
Time Base Corrector
A Time Base Corrector, or "TBC," is the secret sauce to maximizing video capture quality. It's an analog electronic device that buffers a video signal, corrects it, and outputs a cleaner one. It can reduce or eliminate things like video jitter and signal noise, helping the video look the best it possibly can when it gets captured. Some later VCRs, like my JVC unit above, contain an internal TBC, but those can only correct certain issues. External units are much more powerful. My TBC of choice is an AVToolbox AVT-8710. If you'd like to learn a little more about TBCs, see this excellent post on DigitalFAQ.com.
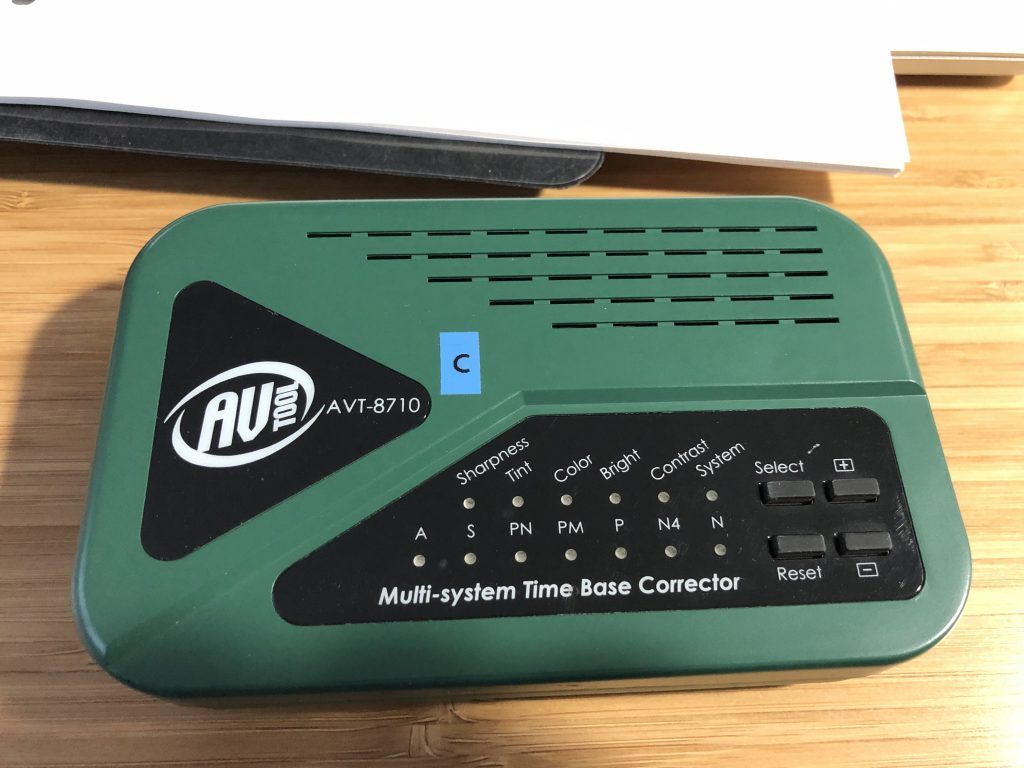
Of all the components I list in this post, a TBC will be the most difficult to acquire. They haven't been manufactured since the early 2000s and are starting to become rare. You can still find them in places like online auction sites, but they fetch rather high prices these days. While TBCs are not required for video capture, they can greatly improve video quality. This is especially true on older tapes (hint: pretty much all tapes are getting old at this point), where the control track, which signals the beginning of each video frame, starts to degrade.
Video Converter
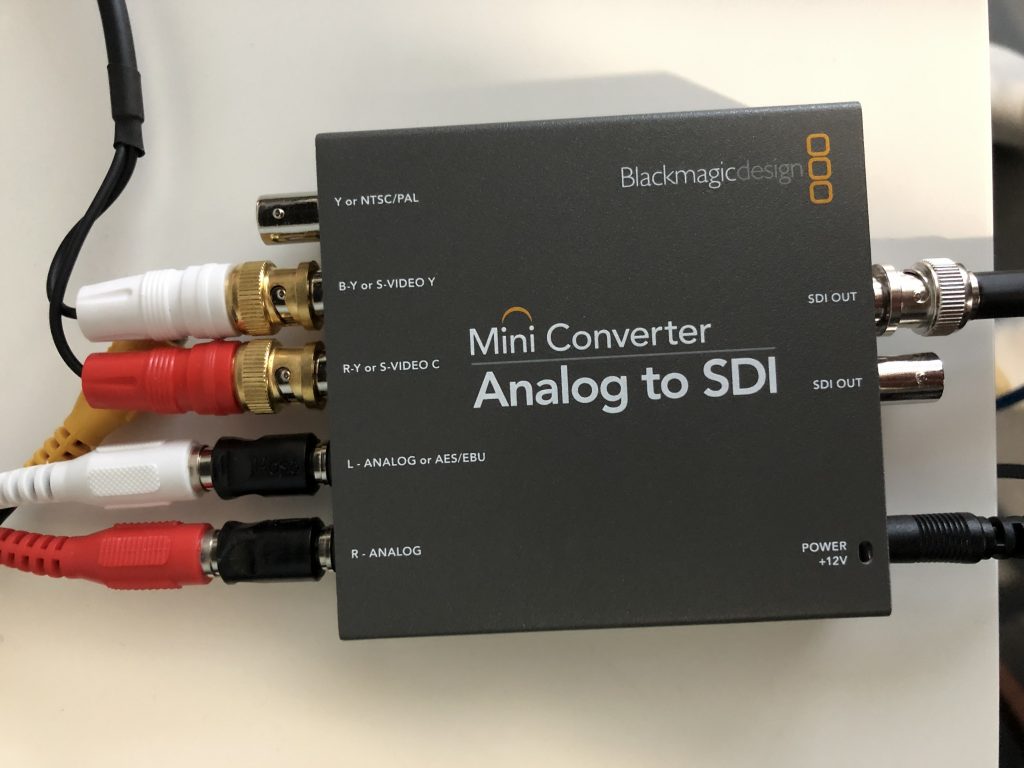
That analog video from the VCR (or TBC, if you can swing one) then needs to become digital. For this step I use a Blackmagic Analog to SDI Mini Converter. This box literally takes analog video in on one side and outputs digital video through SDI on the other. There's nothing to install on any computer, and the few configuration options it supports are set with DIP switches. SDI stands for "Serial Digital Interface," and it's the professional standard for transmitting video over a coaxial cable. The output from this converter then goes into my…
Video Capture Card
Yes, I use an actual capture card inside of an actual desktop computer. I have a Blackmagic DeckLink Mini Recorder. They make several versions of this card; I use the cheapest model because I only need to process standard-definition video (no HD video on a VCR!), and their lowest model is designed for SD only, so it works great. This card's job is to take an SDI video feed and bring it into your computer so you can do something with it. In my case, that something is "save a lossless copy to disk." I want to capture all the quality I can from that tape and preserve it so that, hopefully, I never have to play that tape again.
Computer
Contrary to popular belief, a blazing-fast computer isn’t necessary for video capture, especially when you have separate hardware doing the digitizing like I do. Speed is absolutely your friend when editing videos, but I’m not really editing anything at this stage. As a result, the machine I capture on is actually my oldest. It's a desktop computer I built back in 2007, and it runs Windows 10 just fine. It has an Intel Core 2 Duo E4300 CPU and 8GB of memory, and video storage is on two 1TB hard drives in RAID 1 (a setup that mirrors the same data across both drives) using Windows Storage Spaces.
Software
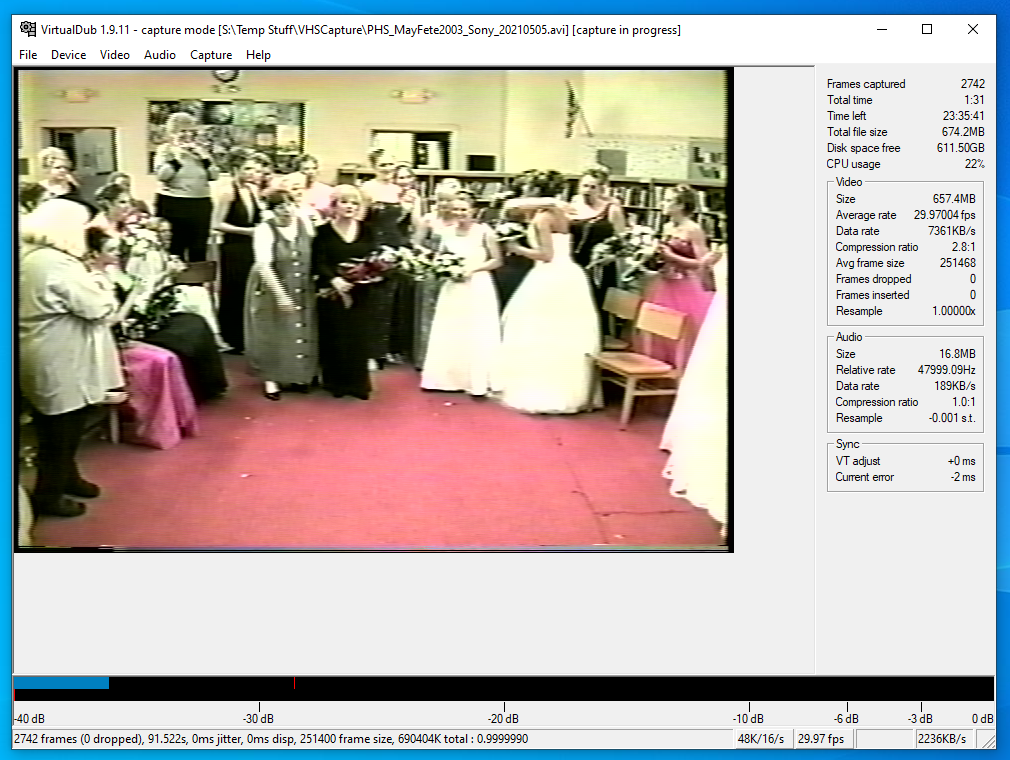
The software I use for capture is VirtualDub. Yes, it was originally released in 2000 and last updated in 2013. Yes, that makes it ancient in the world of software. But it does an excellent job of everything I need, so I have zero reason to use anything else. It's tiny and doesn't even need to be installed—it just runs from a single executable file. It can also handle delivery encoding and simple editing tasks, and it has a wide variety of plugins available. On top of all that, it's open source. I'm a huge fan of VirtualDub.
Codec
Last, but certainly not least, comes the capture codec. A codec is simply the method used to compress and store the video, and there are lots of them out there for a wide variety of purposes, each with its own advantages, disadvantages, and compatibility quirks. This could warrant its own blog post, but the codec I use for capture is Huffyuv. It's a lossless codec (meaning it compresses the video without throwing any of it away) that uses Huffman coding. It's simple enough that I only see about 20% CPU usage on my machine while capturing, and I usually achieve a compression factor of about 3.3. Using a lossless codec means I get an exact copy of whatever I was able to capture from the tape, and I can decide later how much of that quality to trade away with lossy compression when it's time to share the video.
Update: I did write a blog post about codecs.
Next Steps
Capturing video is, of course, just half the battle—there's much more I do afterward to get my videos into a form that's easier to view and share. But this is everything I do to create my capture files, which serves as the starting point for absolutely everything else.
If you enjoyed this post or have any questions, please let me know!