Saving to Excel in Azure Data Studio

Azure Data Studio continues to grow on me. I previously wrote about getting my favorite keyboard shortcuts to work, which made me very happy, but now for a feature I love even more – saving result sets to Excel!
Yes, I know, spreadsheets can be evil. They can even be places where good datasets go to die, but it's important to remember that they're a necessary evil. Sometimes you just need a result set in a spreadsheet, whether you want it to be in one or not.
In SQL Server Management Studio, there's no single-step way to save a result set to Excel. Most commonly I will just copy/paste a result set into a spreadsheet, but depending on the size of the result set and the types of data involved, that doesn't always play nicely.
But Azure Data Studio does it WAY better, trust me. If you want that result set in a spreadsheet, just save it as one and poof – you have an Excel file!
Try It Yourself!
In Azure Data Studio, query the dataset of your choosing. I'm using my Chicago Parking Tickets database. Once you have your results, look at the icons on the right side of the window.
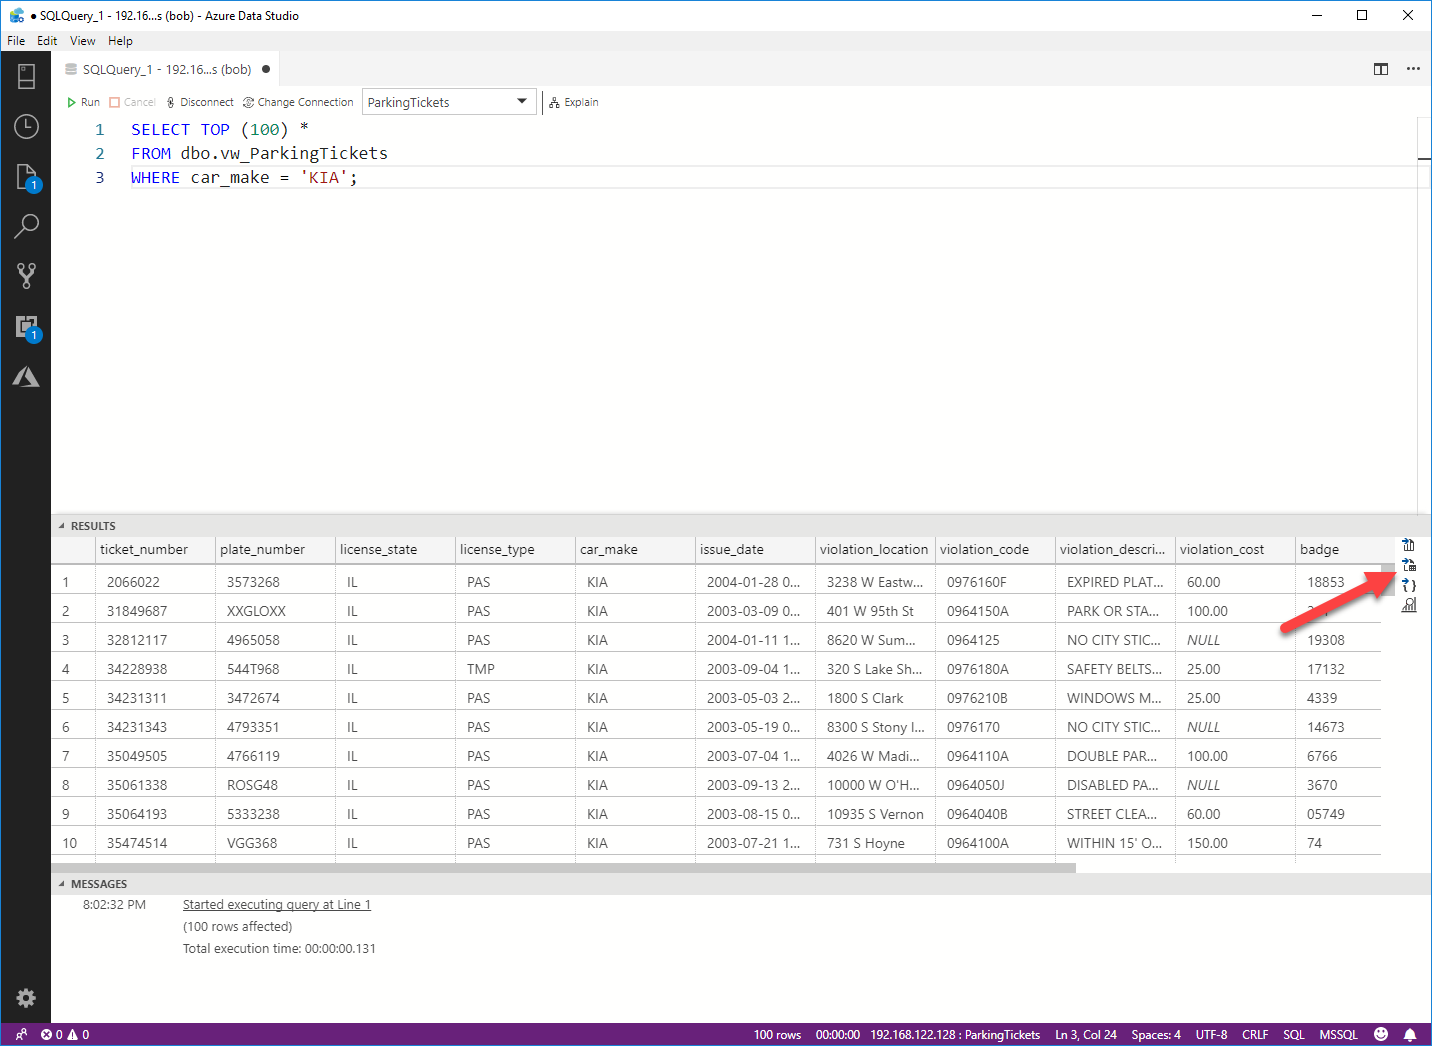
The second icon from the top will save the entire result set to Excel. Click it, pick a filename and folder to save it to and you're good to go.
But wait – there's more!
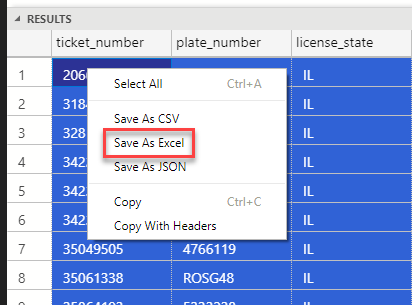
You can also save a subset of the results directly to Excel. Select the rows, columns, or block of interest (you can click and drag to select within the results!) and then right-click. You'll get a dialog where you can choose to save the selection:
Whichever method you choose, Azure Data Studio makes it very simple to save results directly to a spreadsheet. Happy querying!